In this post we will create a RabbitMQ instance inside a docker container and run each a consumer and a producer application in .Net to work with this instance.
When you do not know my recipes take a look at the introduction, or check out all recipes there are.
The accompanying git repository can be found here . But as always you can simply follow along the recipe and create everything from scratch.
As usual in the recipe section we will look at the following:
- The problem to solve
- Why would you do this
- What do we actually do with this
- How are we going to do it
- Caveats
- Advanced features
The problem to solve
- RabbitMQ in general is a message broker and an awesome one too. If you do not know the concept of RabbitMQ or message brokers in general have a look at the documentation.
But for starters they help you to separate the communication of distributed applications not only spatial (like with Http or webservices in general) but also temporal with helps for all kinds of things. But to mention at least one you can use it to create event driven systems.
- Running RabbitMQ in a container lets you easily set up a testing environment and tearing it down at will
- You can simulate your production queue on your local machine to do some exploration testing or simply have it easier to develop (and not stealing messages from other developers or such)
- So as in general: Easy to set up local tests or even automated integration tests for CI/CD.
- Also to test some new software, in this case a message broker.
This post will mostly concern itself with setting up this scenario. We will not look into internals of RabbitMQ (actually I took the two console apps directly from the documentation) in the future we will explore this kind of scenario in a recipe with MassTransit and a local RabbitMQ.
What
Now lets the see what we will be doing in this recipe
- We are going to create dotnet console producer and consumer applications that push and pull messages from the queue.
- Then we will create a container that runs a RabbitMQ instance by pulling the rabbitmq:3-management image
- Poll until the management web app from RabbitMQ is ready.
- Start the producer and consumer application
- Automate the process with a bash script
How
And finally the actual recipe (or the How):
You can either follow along with this recipe or pull/clone the github repository.
- Create dotnet console applications
- Pull rabbitmq image and start the container
- Poll for completion
- Start the applications
1. ) Create two console applications for the producer and consumer
You can do this with any IDE you are comfortable with, but I am using mostly VS Code on a Macbook so I will use the terminal and dotnet cli for this:
$> cd <any_root_dir_for_project>
$> mkdir rabbit_mq_docker
$> mkdir consumer
$> mkdir producer
$> dotnet new console --name consumer -o ./consumer
$> dotnet new console --name producer -o ./producer
$> dotnet new sln
$> dotnet sln add ./producer/producer.csproj
$> dotnet sln add ./consumer/consumer.csproj
So we created the directory structure, added two new console applications, and added them to the solution.
After that we add the RabbitMQ client package to the project files.
Either by nuget manager or by dotnet cli (you know what I am going to show you by now)
$> dotnet add ./producer/producer.csproj package -v 5.1.0 RabbitMQ.Client
$> dotnet add ./consumer/consumer.csproj package -v 5.1.0 RabbitMQ.Client
Producer:
using System;
using System.Text;
using RabbitMQ.Client;
using RabbitMQ.Client.Exceptions;
namespace producer
{
class Program
{
static void Main(string[] args)
{
try
{
var factory = new ConnectionFactory() { HostName = "localhost" };
using (var connection = factory.CreateConnection())
{
using (var channel = connection.CreateModel())
{
channel.QueueDeclare("hello", durable: false, exclusive: false, autoDelete: false, arguments: null);
string message = "Hello World from the queue";
var body = Encoding.UTF8.GetBytes(message);
channel.BasicPublish(exchange: "", routingKey: "hello", basicProperties: null, body: body);
Console.WriteLine(" [x] Sent {0}", message);
}
Console.WriteLine(" Press [enter] to exit.");
Console.ReadLine();
}
}
catch (BrokerUnreachableException ex)
{
System.Console.WriteLine(ex.InnerException);
System.Console.WriteLine(ex.Message);
System.Console.WriteLine(ex.Data.Keys);
System.Console.WriteLine(ex.ToString());
}
}
}
}
Consumer:
using System;
using System.Text;
using RabbitMQ.Client;
using RabbitMQ.Client.Events;
namespace consumer
{
class Program
{
static void Main(string[] args)
{
var factory = new ConnectionFactory() { HostName = "localhost" };
using (var connection = factory.CreateConnection())
using (var channel = connection.CreateModel())
{
channel.QueueDeclare(queue: "hello",
durable: false,
exclusive: false,
autoDelete: false,
arguments: null);
var consumer = new EventingBasicConsumer(channel);
consumer.Received += (model, ea) =>
{
var body = ea.Body;
var message = Encoding.UTF8.GetString(body);
Console.WriteLine(" [x] Received {0}", message);
};
channel.BasicConsume(queue: "hello",
autoAck: true,
consumer: consumer);
Console.WriteLine(" Press [enter] to exit.");
Console.ReadLine();
}
}
}
}
2.) Pull rabbitmq management image
We are getting using image rabbitmq:3-management so we can poll on the web application to have the queue ready for an automated setup scenario of our producer and consumer. There are different ways to go about this.
- We can pull the container with
docker pull rabbitmq:3-management
So we can inspect the image
docker inspect rabbitmq:3-management
- Or we can create our own rabbit_mq Dockerfile with the virtual host (not needed here but helpful advice in any case) already set up
FROM rabbitmq:3-management
ENV RABBITMQ_DEFAULT_VHOST=my_virtual_host
EXPOSE 5672 15672
- Start rabbit mq with docker and let docker do the heavy lifting for you
docker container run -d --rm -p 5672:5672 -p 15673:15672 \
--name local_rabbit rabbitmq:3-management
| -d | lets the container run in the background |
| – -rm | removes the container and all associated ones on stopping the container |
| -p | maps the exposed ports of the container to those of the docker host machine |
| – -name | tags the container for easier reference |
| rabbitmq:3-management | the image used to run the container |
3.) Poll for the completion
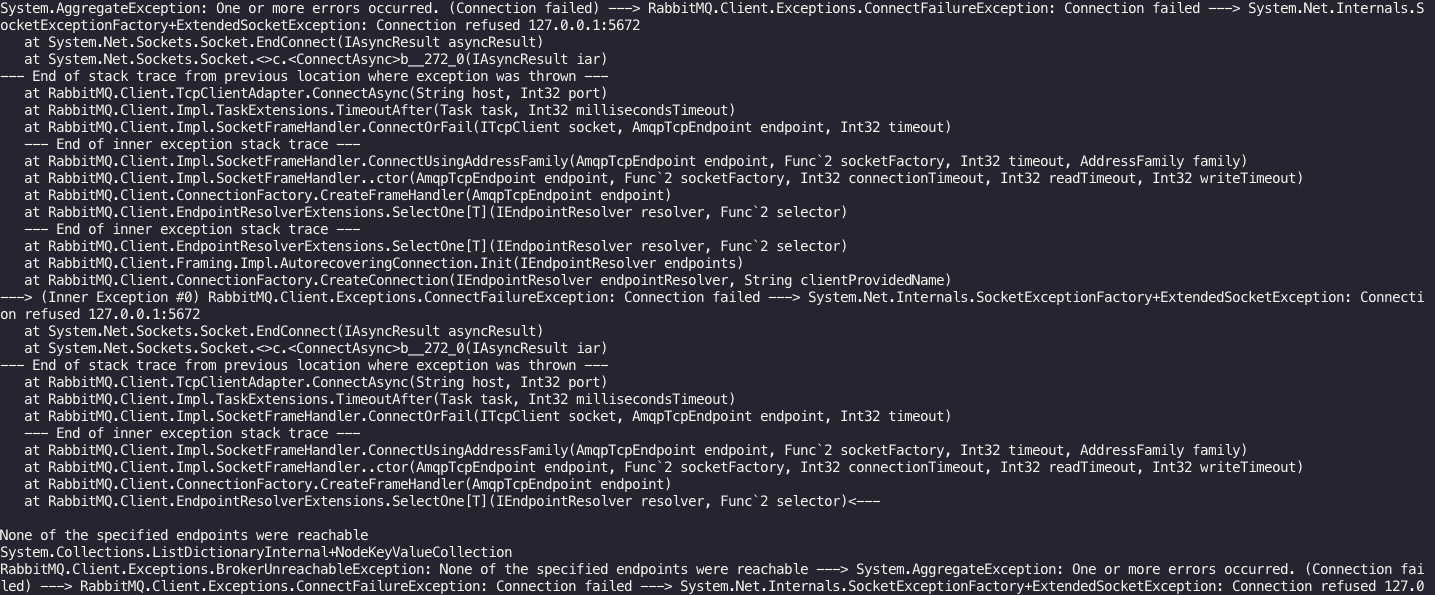
This is necessary or else the applications will fail with a Socketexception
 So start the container like described in step 3.) and then run
curl -f http://localhost:15673
until it returns:
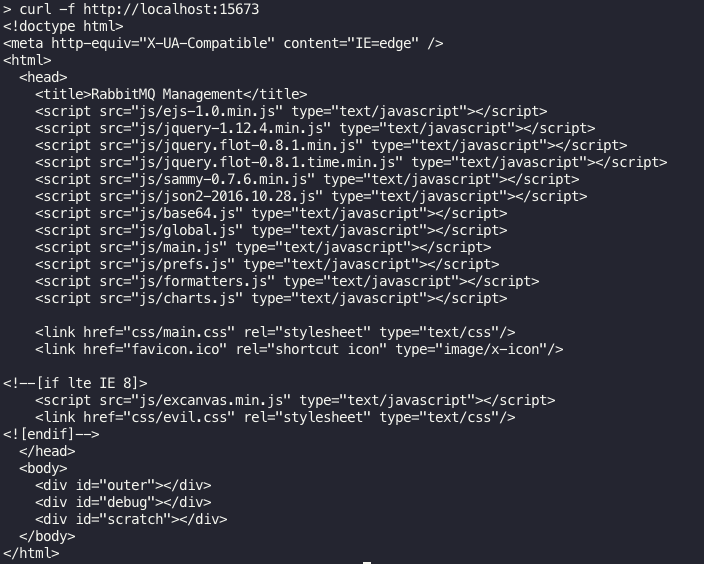
4.) Start the actual applications
To start the applications when rabbitmq is running do:
- Start new terminal with root of project
-
dotnet run --project ./consumer/consumer.csproj
- Start anpoter terminal with the root of the project
-
dotnet run --project ./producer/producer.csproj
The resulting application in terminals look like:

5.) Automate with bash script
As a last step we can set up a script to run this automatically instead of manually.
The steps are again
- Setting up the rabbitmq container
- Polling for the container to be ready by curl the management applicationStart producer
- Start consumer
- Stopping (and thereby removing) the container again.
see the following bash file for this:
#!/usr/bin/env bash
docker container run -d --name local_rabbit --rm -p 5672:5672 -p 15673:15672 rabbitmq:3-management
# poll for start of rabbitmq
while true;do
printf "."
result=$(curl -f http://localhost:15673)
if [[ $result == *"<!doctype html>"* ]]; then
echo "is started"
break
fi
done
# run producer
dotnet run --project ./producer/producer.csproj
# run consumer
dotnet run --project ./consumer/consumer.csproj
# stop and remove due to --rm on contaienr run
dotnet container stop local_rabbit
Caveats
- Already running local rabbit then do different ports
- If you start locally remember to add-host or links for your applications
- Remember to create virtual host
- If you want to not only do local set password and user
Advanced features
- Use docker-compose to orchestrate apps and rabbitmq container
- Masstransit instead of RabbitMQ client library
- Producer with command line interface to push several messages
0 Comments